I’ve never been an artist in the sense that I can paint gorgeous photos or draw basically anything. With that being said, a few years ago when I moved in Matt’s condo, there were so many things I wanted to update but we had spent soooo much money on all this new furniture and baby stuff that I didn’t want to spend the money. About that time I started really loving the distressed furniture look. I went to a vintage store and fell in love with this small turquoise piece but really started to wonder if I could do it myself. I’m gonna be honest it took a couple of trial and errors to figure out what works and what doesn’t. So here’s my advice before you start your dining room table makeover.
- Find cheap items like wood pallets or frames to practice on especially if you’re trying new things like foil or antique wax or dust. I’m now to the point where I’m experienced enough to just know what works but it took me multiple efforts to get there. Also if you don’t want to paint your own furniture, go on Craigslist, FB buy sell or trade, etc. to find people selling furniture for cheap. As long as there’s no severe damage (even small nicks can be sanded out) anything can be transformed. When you get good enough you could even sell it.
- Don’t try to take the cheap route. Get good quality paint, waxes and brushes. You can use the cheap stuff if you’d like but let me tell you first hand that you’ll be doing a lot more touching up and re-purchasing. My good quality brushes have lasted me through many projects whereas the others I’ve had to toss in the trash.
- Make sure you put plastic or a drop cloth down. Believe me I have been very cocky in my painting abilities myself thinking I won’t get it on the floor etc. but it splatters more than you think. Protect your floor and furniture. That’ll save you a lot of clean up in the future plus sometimes you can’t even get it off of certain things.
- Wipe down all furniture beforehand. There’s nothing more frustrating than finding a piece of hair or fuzz after the paint has dried.
- You have to choose a sealer. You can’t use wax and polyeutherane both. They pretty much cancel each other out.
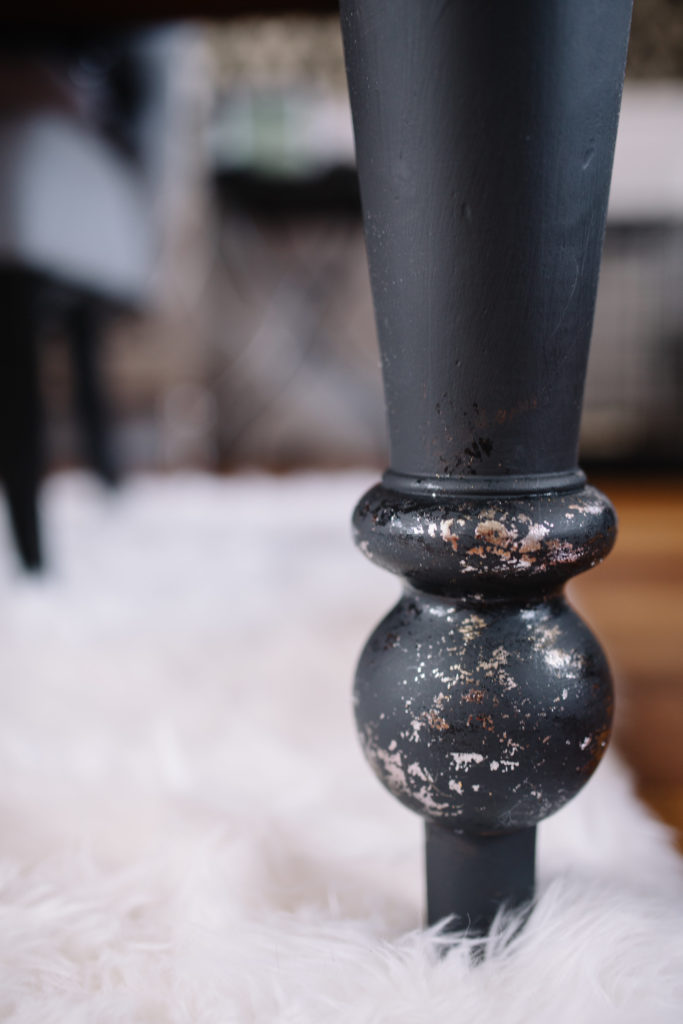
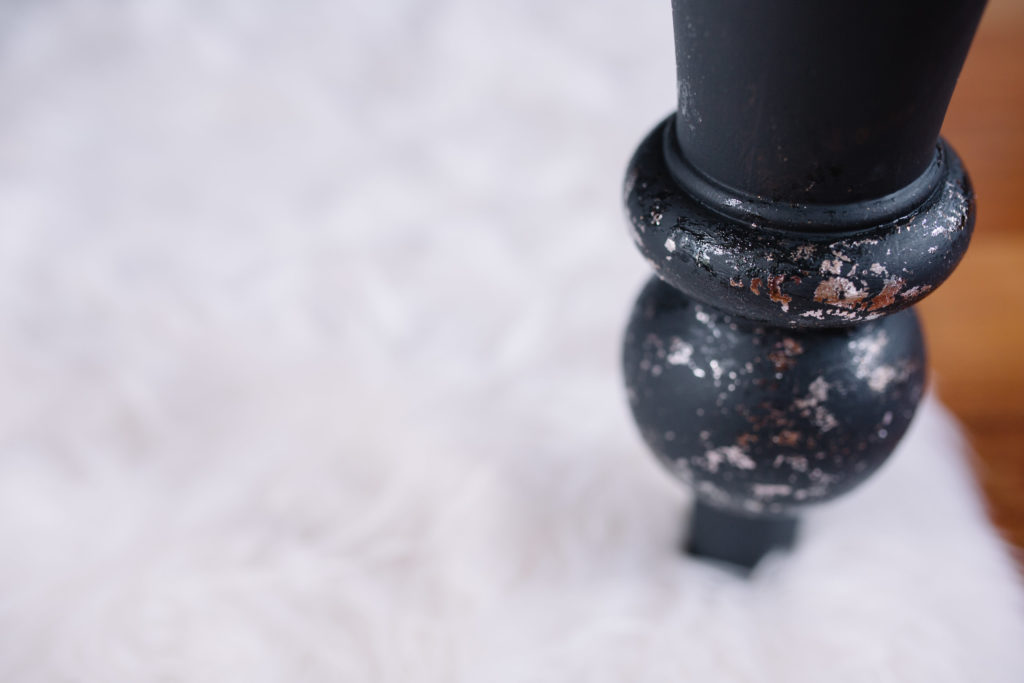
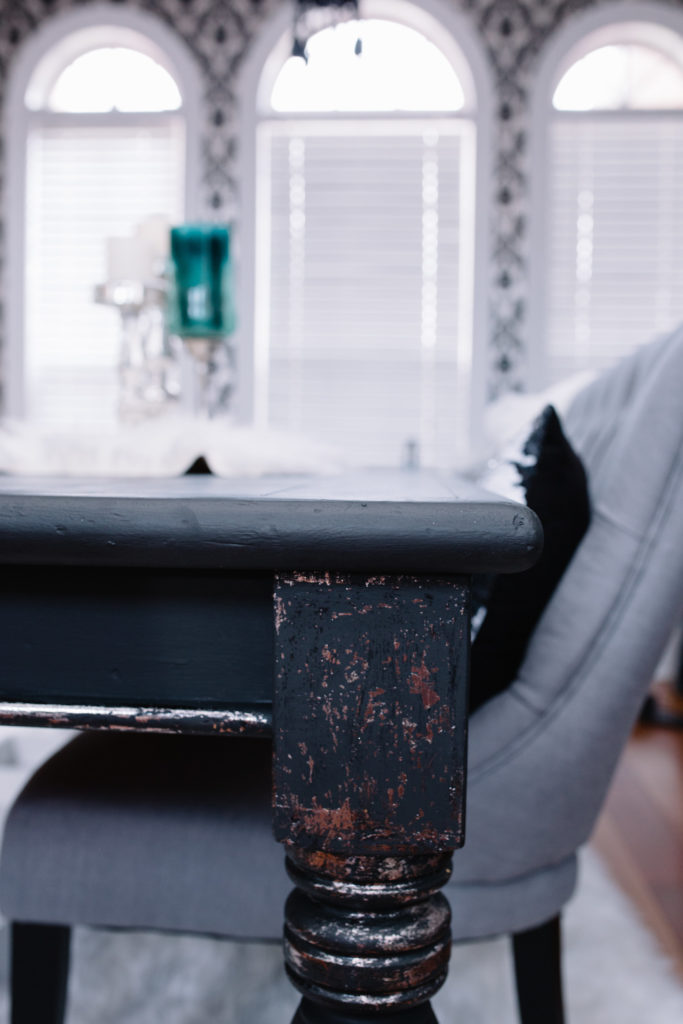
- DO NOT sweat the small stuff. The absolute BEST part of chalk painting furniture is it’s designed to give it a messy uneven texture. If you mess up a tad on the paint just distress it more in that area or use some foil to cover it up.
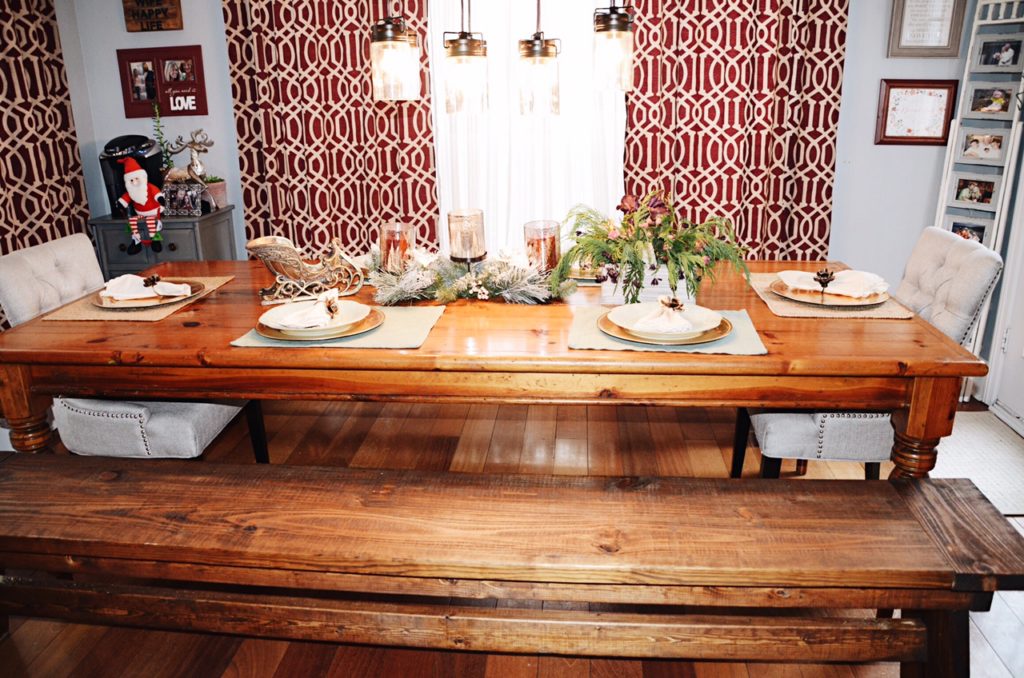
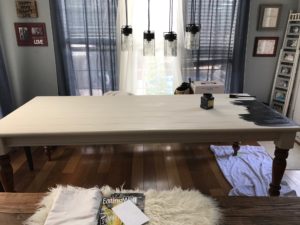
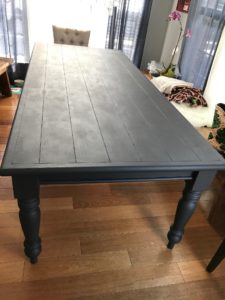
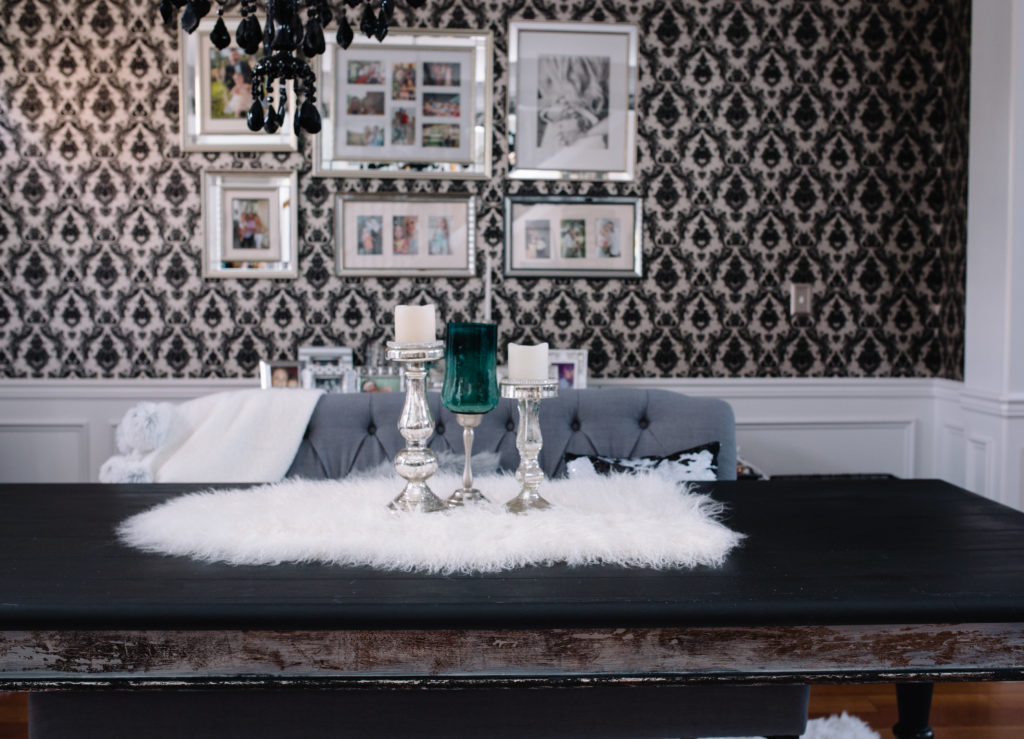
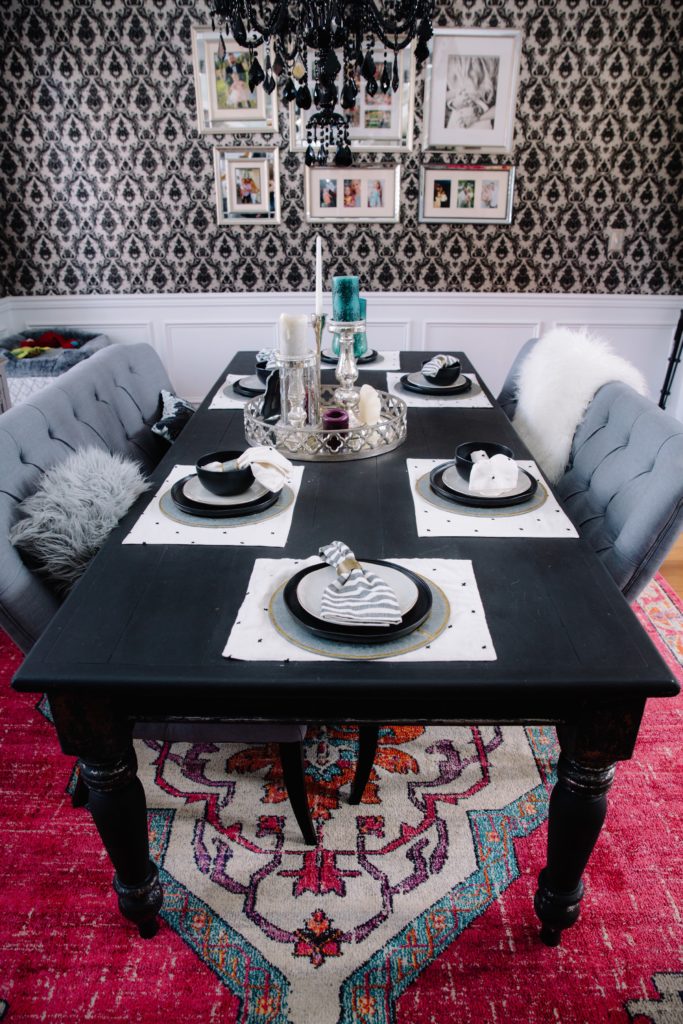
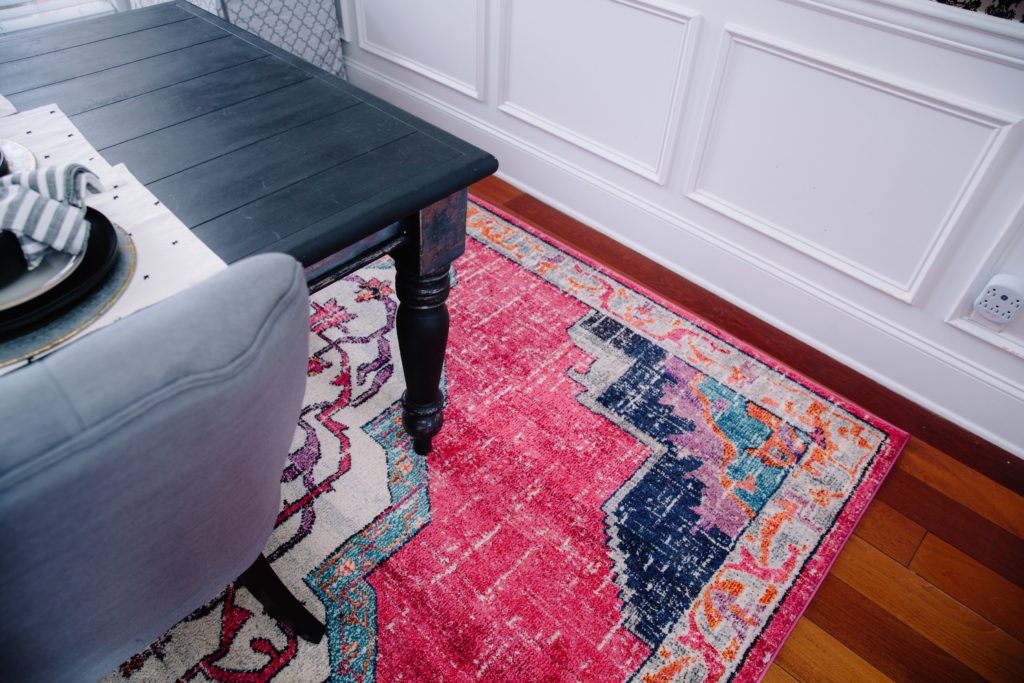
DINING ROOM TABLE MAKEOVER – BEFORE
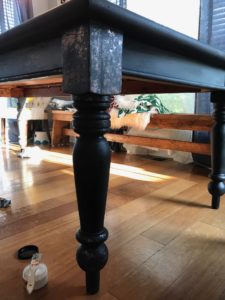

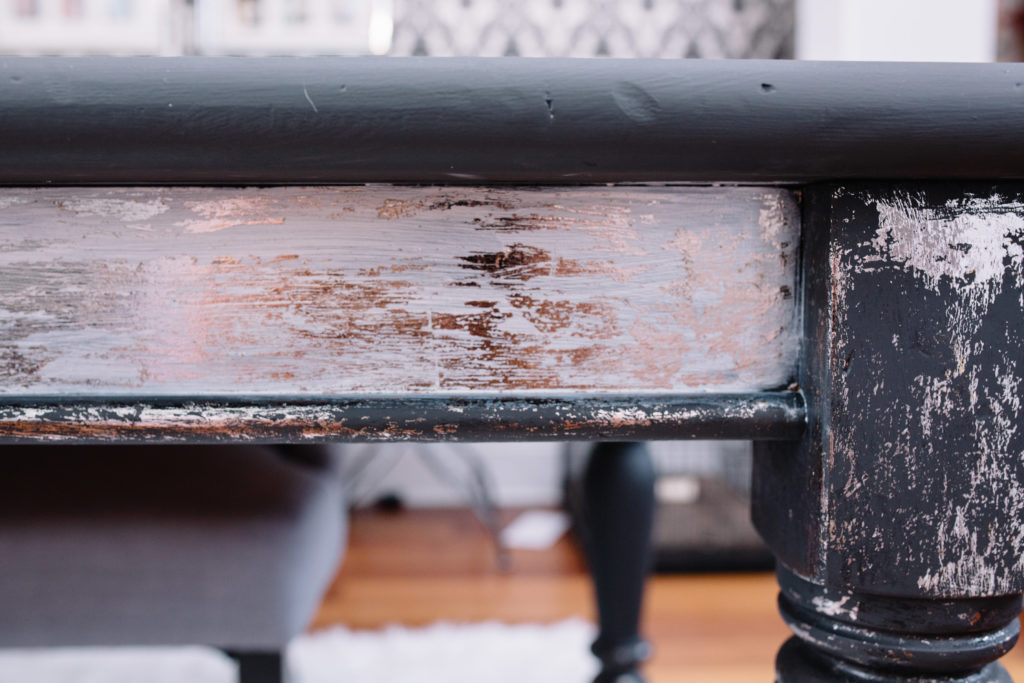
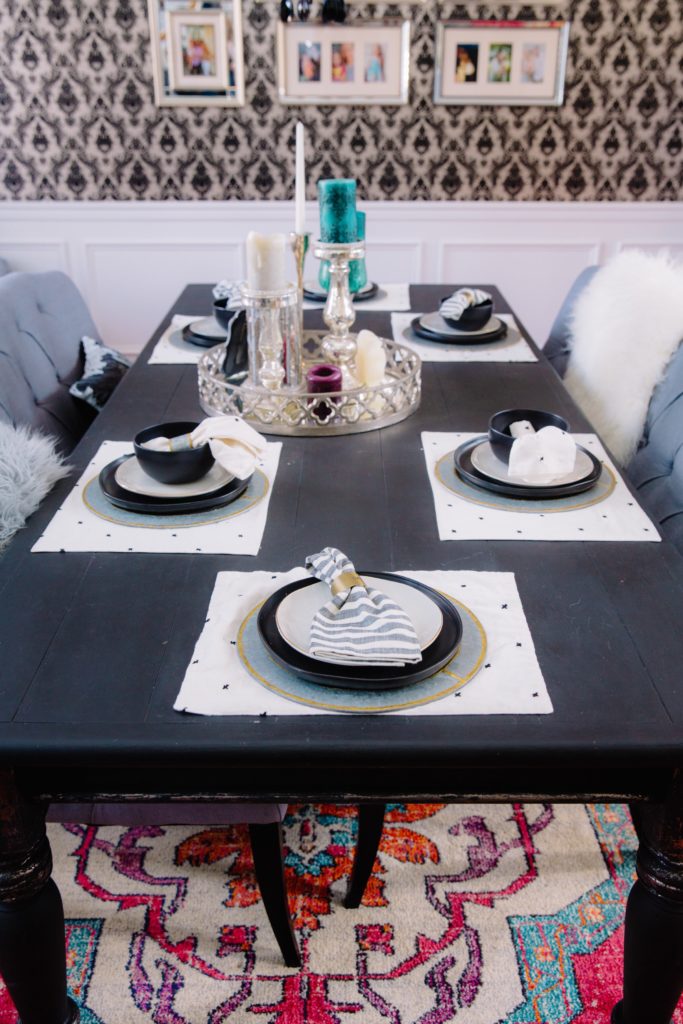
DINING ROOM TABLE MAKEOVER – TIPS FOR FOILING
- Wear gloves if you can. That stuff sticks like glue to your hands and it’s so hard to finish the job when you’re consistently having to wash your hands.
- Pre cut the strips of foil.
- Let the tacky glue dry for 5 minutes then place the foil shiny side up.
- Rub the buffing brush vigorously over the foil then pull it up. If you feel like some spots are more sparse then take parts of the metallic foil and start over.
- Put a sealant on the foil after you’ve finished. I would recommend something other than wax to keep it from being sticky to the touch.
PRODUCTS USED:
Midnight Sky Chalk Paint for Table
Chalk Paint & Wax Pure Bristle Brush Set
MY FAVORITE PRODUCTS:
